Tabs
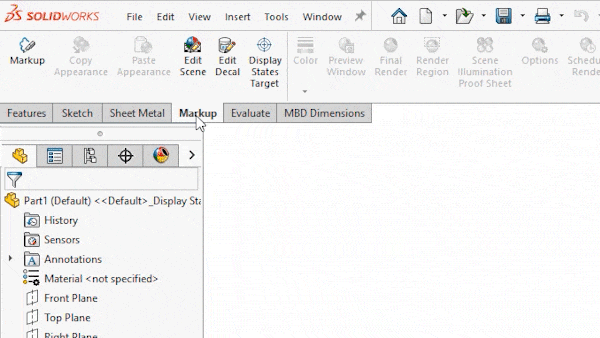
The most commonly used menu in SolidWorks has to be the command manager. This ribbon menu has specific tabs for each modelling approach, such as surfacing, sheet metal and weldments, as well as tabs for evaluation tools and add-ins. Customising it can be a great first step into increasing your productivity.
Showing tabs
To display a tab for any type of functionality, right click on one of the existing tabs and choose from the tab menu.
Creating your own tabs
Custom tabs can also be created which allow any features to be added. For users who use a small subset of the tools available in SolidWorks, a single tab could have all the features that are most commonly used on it, removing the need to toggle between tabs.
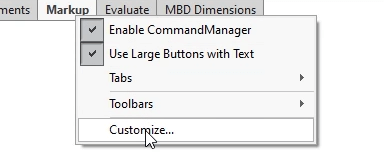
To create a new tab, right click on any of the existing tabs and choose customise. Right click again on any of the existing tabs, choose add tab and empty tab. The tab can now be named.
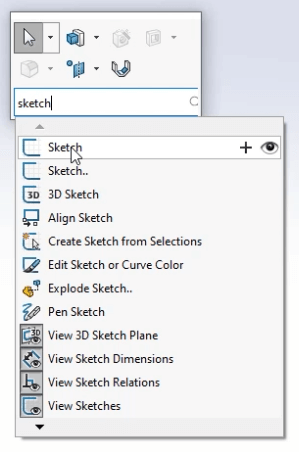
To add buttons to the menu, search for any feature on the commands tab, from the pop-up window, and drag and drop onto the tab.
As a side note, it’s useful to know that when looking for a command in SolidWorks, the search in the top right hand corner can be used to quickly access any feature. Not only that, but from the search, a feature can also be dragged and dropped onto the command manager, which adds it to that tab.
Shortcuts (s) key
SolidWorks has a handy shortcut toolbar that displays different commands depending on the environment. It appears wherever the mouse is and is prompted by tapping ‘S’.
To edit this toolbar, right click on it and choose customise.
Any feature can be added by searching for it and then dragging and dropping.
One of the additional benefits of using the shortcut toolbar is that it also features a built in command search, so if a feature is ever needed that isn’t on the toolbar it can be quickly found, without having to travel to different areas of the user interface.
Mouse Gestures
Mouse gestures are a type of shortcut menu that appear when the right mouse button is held and dragged in any direction.
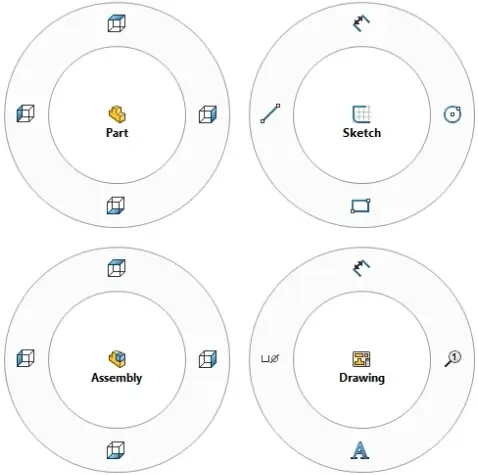
By default, each SolidWorks environment including sketch, part, assembly and drawing has its own unique mouse gesture palette that can be customised to suit the users needs.
To customise mouse gestures, head to the dropdown menu beside the options and choose customise. On the mouse gestures tab, the amount of gestures can be set, from 2, 3, 4, 8 and 12. Then to choose which buttons exist on the wheel, features can be searched for and dragged and dropped into place.
Multiple shortcuts can even be paired together. Search for shortcut when customising the mouse gestures and the shortcut bar from the last section can be added. This expands the range of features available and adds search functionality, all to your right mouse button, when prompting mouse gestures.
Mouse gestures do take a little getting used to but once mastered, the time saving is huge as cursor travel is massively reduced.
Custom Context Toolbar
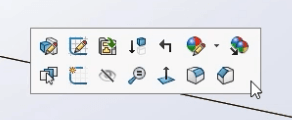
Whenever something is selected within the SolidWorks interface, a context toolbar appears with a selection of features that may be required next. This is really useful as it brings relevant features directly to the cursor.
To make this toolbar even more effective, it can be customized by right clicking and choosing customise. Any feature can then be selected and simply dropped onto it, making it available any time the context toolbar appears.
Classic icons / dark theme icons
Within the SolidWorks user interface, colours and icons can be modified to change the look and feel.
There are two drop-down menus on the colours tab, within system options, that control this. For icon colour, Default uses the newer blue and grey icons, which have been in place since SolidWorks 2016, whereas classic uses the older green and yellow icons. For the background, this can be changed between, light, medium light, medium and dark.
Saving & Sharing Settings
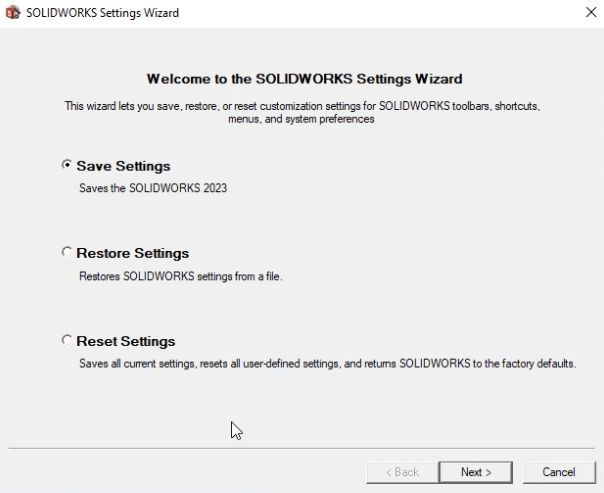
Once settings have been changed and customizations made to the user interface, it’s a good idea to save these settings. This can be done using the save settings wizard which is accessed from the options drop down.
In the wizard, existing settings can be saved, settings can be restored from a file or settings can be reset to default. When settings are saved, it creates a settings file. This file can be used as a backup should anything go wrong with the SolidWorks install or machine, or it can be used as a way of sharing settings across multiple users and machines.
To import the settings into a second machine, open the settings wizard and browse to the settings file using the restore settings option.